Introduction
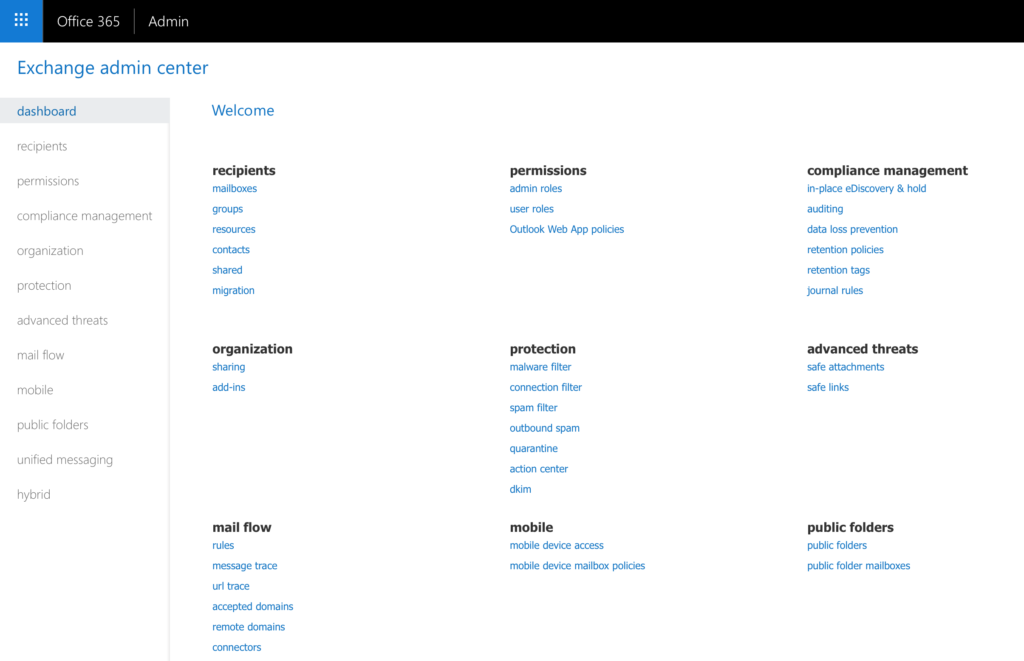
Recently I’ve had trouble with email safe senders for a domain in our Office 365 Exchange environment. Let’s take a look at some tips with Office 365 email safe senders. Usually my first place to go is the Exchange Admin Center. Now go to Protection > Spam filter > Allow lists – Add the sender/domain you want to allow. Here is Microsoft’s documentation: Create organization-wide safe sender or blocked sender lists in Office 365
Typically this is the resolution, the emails will arrive in any user’s mailbox after this. However, this was not my case this time. I went to the client side of equation to try there.
Tips with Office 365 Safe Senders
Here are few PowerShell methods to review and set rules for a user.
This will display all of the emails/domains the user has set as a trusted sender.
Get-MailboxJunkEmailConfiguration -Identity "ALIAS" | Select -ExpandProperty TrustedSendersAndDomains | Sort
In order to add a new email/domain use the following to add a truster sender:
Set-MailboxJunkEmailConfiguration -Identity "ALIAS" -TrustedSendersAndDomains @{Add="contoso.com"}
You can comma separate the emails/domains if you have multiple to add. In addition, you can edit the Blocked Senders with a similar method:
Set-MailboxJunkEmailConfiguration -Identity "ALIAS" -BlockedSendersAndDomains @{Add="contoso.com"}

Set-MailboxJunkEmailConfiguration -Identity "ALIAS" -BlockedSendersAndDomains @{Add="contoso.com","contoso.com"}
Conclusion
Hope these tips with Office 365 email safe senders will help for your users. Much more can be found with Microsoft’s Documentation for Set-MailboxJunkEmailConfiguration. You can also see more about posts for Office 365 here.