Introduction
Have you made the move to consolidating user access to a single sign-on (SSO) portal yet? If Active Directory is your primary source for user access, the Azure AD MyApps portal is a great place to start consolidating your access. For the sake of time I’m going to jump right into some ways to customize this portal, if you need more information on moving to SSO, take a quick read here.
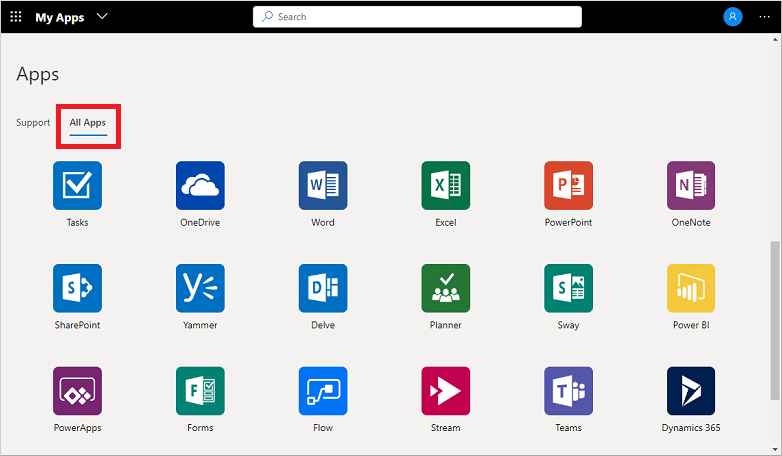
Azure AD MyApps Portal
The new portal released general availability in 2020-Q1, it has a nice new feel and the Microsoft AzureAD Identity team has boasted a lot more features to come. To start, update to the new MyApps experience and try to create collections of apps. This could be a great way to group them together based on a security group for Client Success, Development, Sales, etc. I sure hope more features keep coming for it like Compact View, Pinned Apps, or a Frequently Used tab. You can go to their UserVoice page to submit new ideas or vote on current ones.
Clean up the portal
One big issue I’ve seen with Azure AD MyApps Portal is that it will start adding icons for apps you don’t want to see. For example, if you deploy an Outlook Add-In or oAuth for an app service it will now show for your users in their portal. When you click on it there will be an error or take you to a unexpected location. Well let’s clean that up! Here’s a few steps to do it:
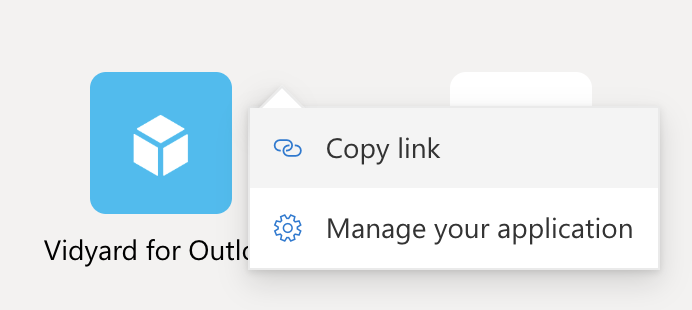
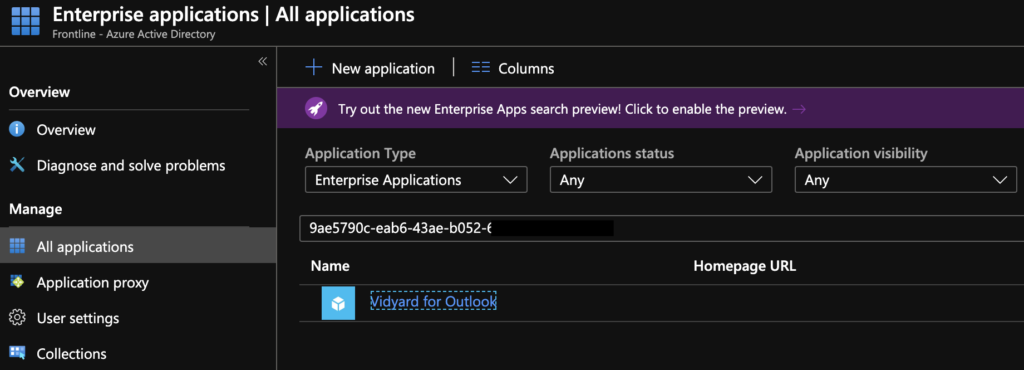
- We’re going to take a look at this VidYard app – click the 3 stacked dots and then Copy link
- Now paste that link somewhere to inspect it. You will see a long string, you want the Enterprise App ID found after the name and before the Tenant ID. Use that ID to search for the app in Enterprise Apps in Azure AD.
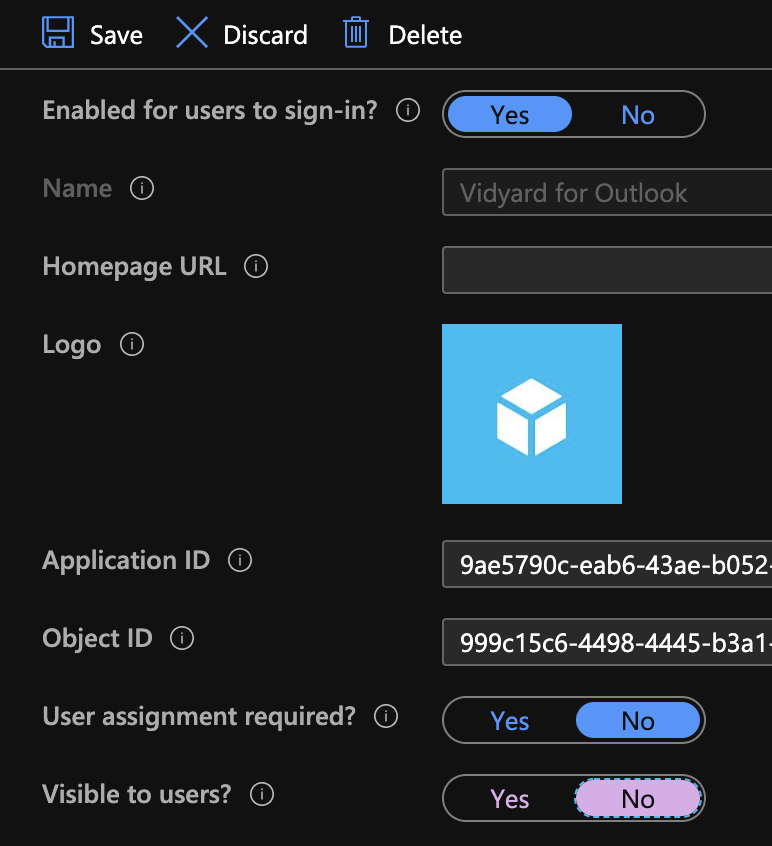
- Now go to Properties and switch the Visible to users to No
- That’s it! Users can still authenticate to this app but won’t clutter up their MyApps portal. (I’ve seen it take about 10 minutes to be hidden)
Powershell process
So now that we went over the easy way to do it, let’s take a deeper dive into a way to do this in a bulk method. Also, if the app doesn’t show in your portal doesn’t mean it’s not showing for others. You can use the method for all apps in Azure AD. One disclaimer, some apps can not be hidden (specifically Microsoft apps). Microsoft has documentation on hiding applications here.
- First connect to Azure AD > then get all Service Principal Names
- Or if you want to search for a specific one use -SearchString zoom
- What you need is the ObjectID (you can also get this from the UI version of the portal for any Enterprise Application)
- Now use the last few lines to actually hide the app – a great example are the “App for Outlook” add-ins you can deploy to all users. There is no reason to have this show in the MyApps portal – clean that up for your users after you deploy it!
Connect-AzureAD
Get-AzureADServicePrincipal | Sort DisplayName

ObjectId                             AppId                                DisplayName
--------                             -----                                -----------
01c9b439-a0c4-4e5b-a4c9-XXX123XXX456 f0ae4899-d877-4d3c-ae25-XXX123XXX456 AAD App Management
0bd5a26c-8889-44b6-870a-XXX123XXX456 4e9b8b9a-1001-4017-8dd1-XXX123XXX456 Adobe Acrobat
20446487-87cf-4ddf-bed9-XXX123XXX456 00000013-0000-0000-c000-XXX123XXX456 Azure Classic Portal

Get-AzureADServicePrincipal -SearchString zoom

ObjectId                             AppId                                DisplayName
--------                             -----                                -----------
e3d65048-e393-48ff-9ac9-XXX123XXX456 fc108d3f-543d-4374-bbff-XXX123XXX456 Zoom
1e5366dd-39d4-44ea-XXX123XXX456 d835d24c-a73d-44fe-af63-XXX123XXX456 Zoom
eb61dc02-64e1-4b8a-XXX123XXX456 15151540-1838-48ac-bb91-XXX123XXX456 Zoom for Outlook

$objectId = "eb61dc02-64e1-4b8a-XXX123XXX456"
$servicePrincipal = Get-AzureADServicePrincipal -ObjectId $objectId
$tags = $servicePrincipal.tags
$tags.Add("HideApp")
Set-AzureADServicePrincipal -ObjectId $objectId -Tags $tags
Conclusion
Keep your Azure AD MyApps portal cleaned up for your users before they go crazy with so many icons. It would be great if Microsoft would start adding new features to keep down on the clutter, but until then you can do your part. If you’re moving your users to the MyApps portal for all your SaaS apps, this is a must keep their sanity. Check out more features of Office 365 and Azure Active Directory with these links.